Blog
Simulator maintenance: screens, mats, and monitors
Impact screens wear, mats compress, and camera lenses collect dust. A little maintenance doubles the life of the expensive parts.
By the My Golf Obsession teamPublished Nov 2, 2026
Carl's Place
The most expensive parts of a simulator are also the ones that wear out right in front of you, and a short routine twice a year keeps them working a lot longer. Screens thin in one spot. Mats go flat where you always stand. Camera lenses pick up a film of garage dust. None of it happens overnight, which is exactly why it gets ignored until the picture looks tired or the numbers start to drift.
Maintenance isn't glamorous, and it doesn't need to be complicated. Start with where the money is in your room. The screen and the monitor cost the most to replace, so they get checked first. The mat affects your joints, so it comes next. The projector is mostly a dust and airflow job.
Impact screens: watch the wear zone, not the whole screen
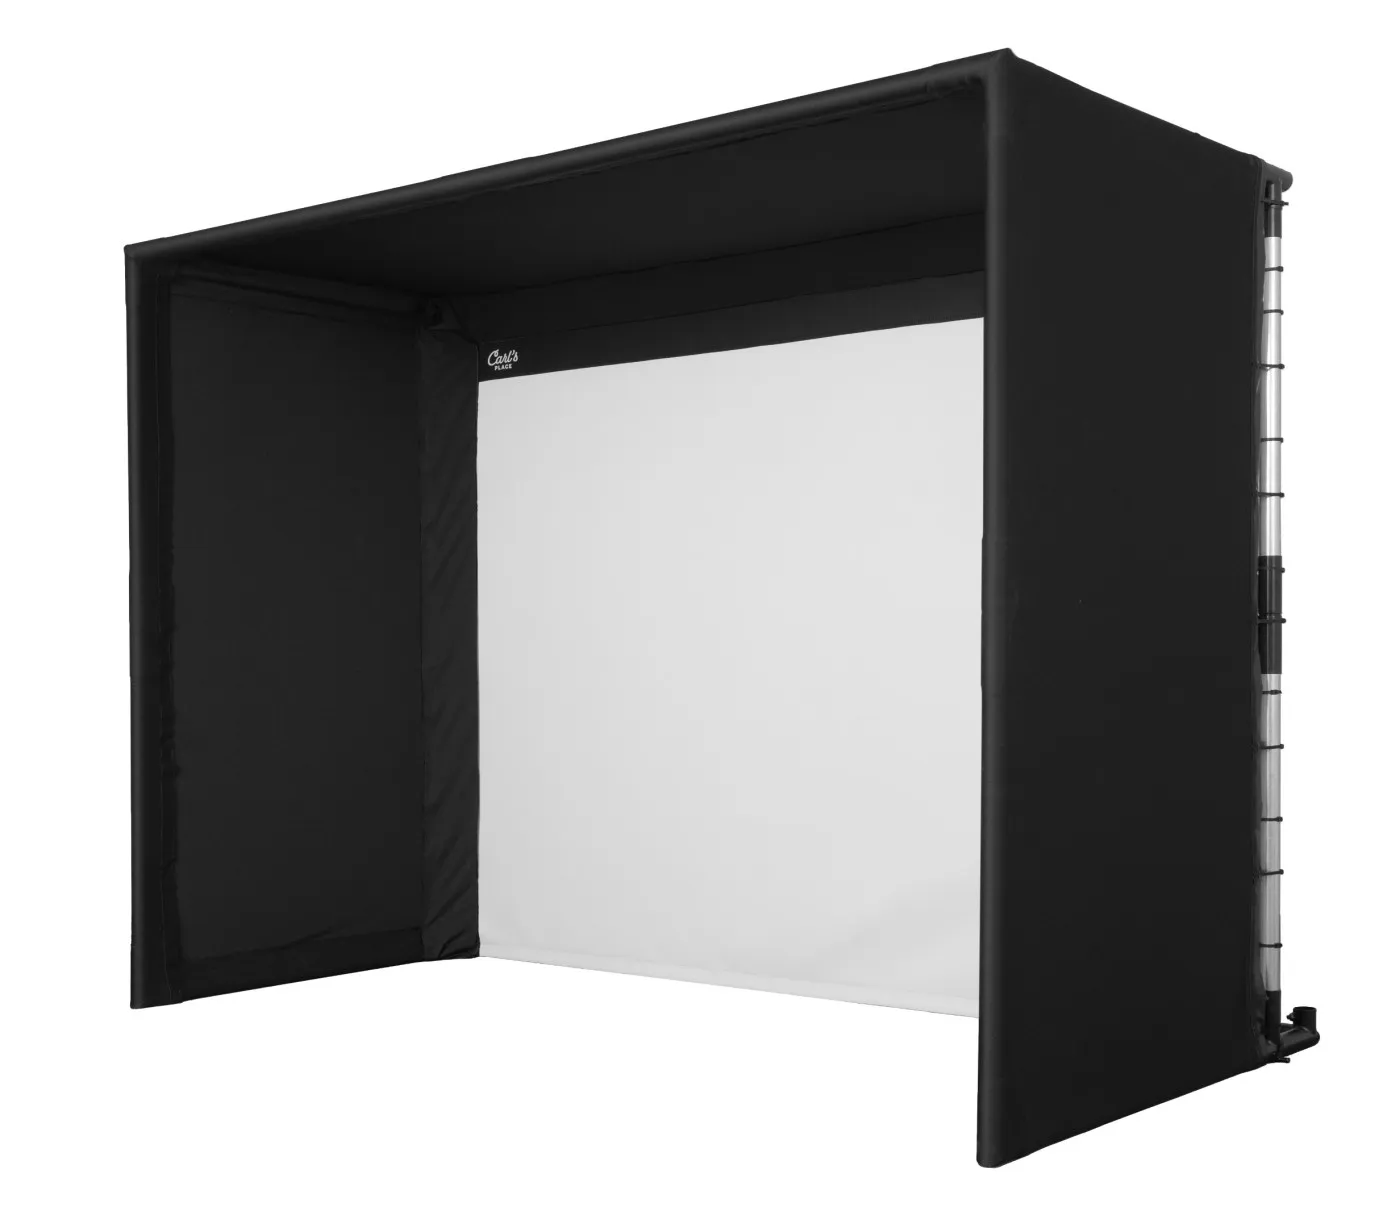
An impact screen doesn't wear evenly. Almost every shot lands in the same rectangle, roughly where your normal ball flight meets the screen, and that zone takes thousands of hits while the corners stay like new. The first signs are a lighter patch, a faint thinning, or a spot where the image looks slightly washed out compared to the rest of the screen. Small marks from clean balls are normal. A spot you can see through, a fraying edge, or a tear is not.
Rotating helps, but only a little. You can't flip most screens end to end without changing the image, so the practical moves are simpler. Shift your hitting position a few inches side to side when you practice, so the same square inch doesn't take every shot. Keep your balls clean, because dirt and sand grind into the fabric with every impact, and keep the bottom edge protected from low line drives, which hit harder than high shots.
Carl's Place is honest about this: impact screens are made to be replaced as they wear, and its screens are rated to stop golf balls at 250 mph. Treat the screen as a consumable with a long life, not a lifetime part. When the wear zone thins, the image softens, or a small hole shows up, order a replacement in the same size and finishing style as the original. Waiting turns a planned swap into a mid-winter emergency, usually on a night you planned to play.
Hitting mats: brush, rotate, and test for flat spots
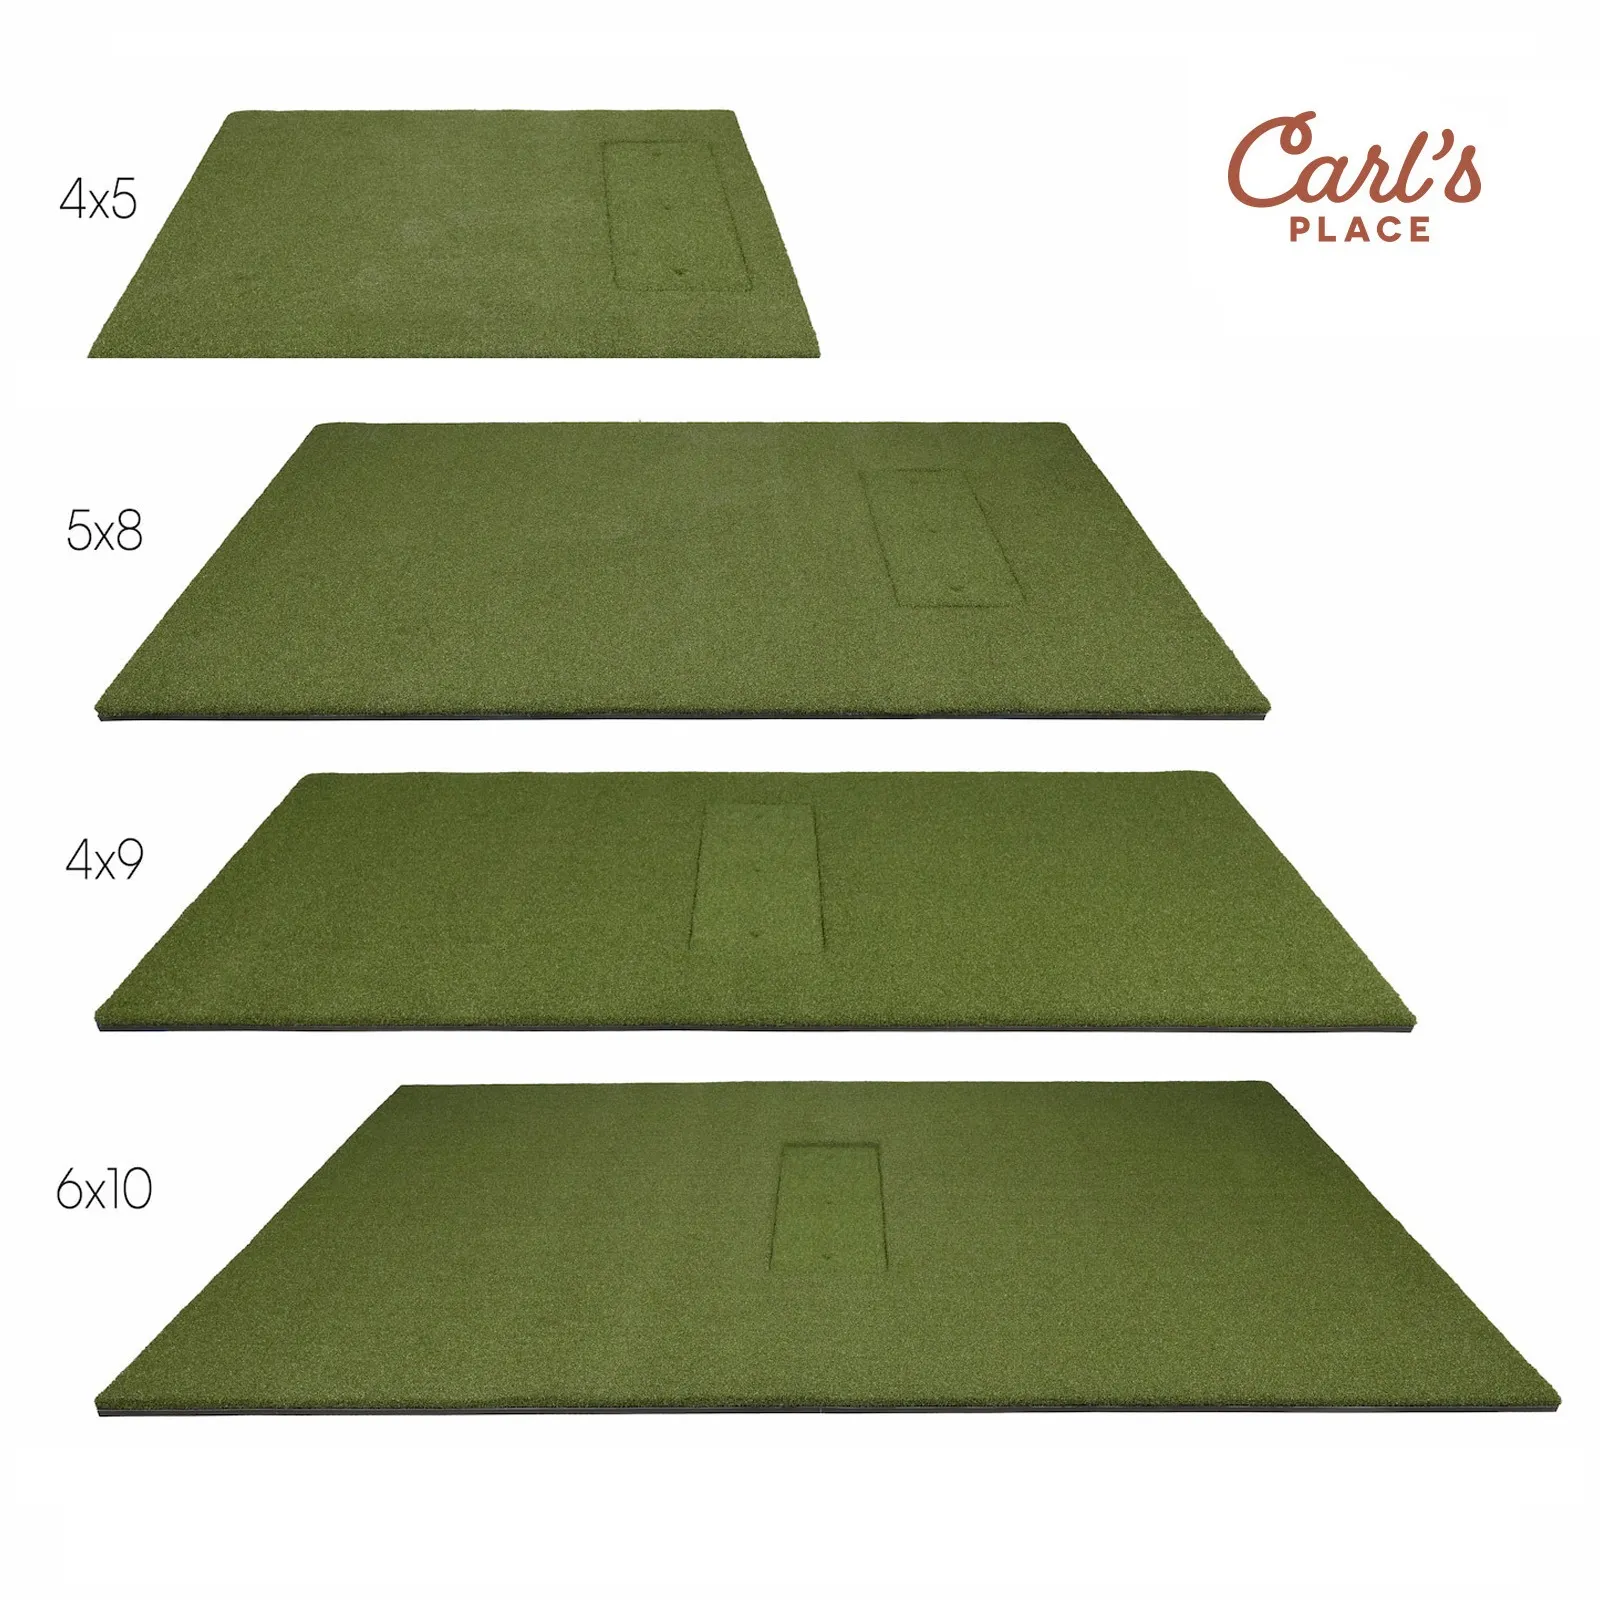
Hitting mats fail in a quieter way. The turf fibers mat down, the foam underneath compresses, and one day your irons start feeling harsh and your ball flight looks thin, even though your swing hasn't changed. The fix starts with brushing. A stiff brush after sessions lifts the fibers, clears trapped sand and rubber crumbs, and keeps the surface playing consistently. Vacuum the edges and the floor around the mat too, since grit under the mat wears away at the backing.
Rotation is the other cheap trick. If your mat has a hitting strip, move your stance across it, or rotate the mat when the design allows, so one spot doesn't take every wedge shot. Some mats solve this properly with a replaceable hitting strip: when the strip wears, you swap that section instead of the whole mat. That's worth checking before you buy a replacement, because a strip costs far less than a full mat.
Do the compression test with your hands and your feet. Press the hitting area and compare it with an unused corner. If the hitting spot feels hard, dead, or noticeably lower, the foam has compressed. Bare spots, a surface that stays flat after brushing, and soreness in your wrists or elbows after sessions are all replacement signals. A mat that hurts to hit from isn't saving you money. It's charging you in joints.
Launch monitors: keep the lenses clean and the software current
The launch monitor is the most sensitive box in the room, and also the easiest to look after. Camera units read the ball by photographing it at impact, so anything on the lens changes the picture. Dust, a fingerprint, or a film of garage grime can turn clean data into misreads. Foresight's care guide for its devices gives the method plainly: use canned air or a photographer's air blaster first, and only use a clean microfiber cloth with very light pressure if absolutely necessary. Never spray liquid directly on lenses or sensor windows.
That order matters. Blowing dust off first stops you grinding grit across the lens with a cloth. Wipe gently, never with paper towels or household cleaners, and keep the area around the unit dust free. Radar units are more forgiving, since they track with radio waves rather than pictures, but their domes and vents still deserve the same gentle treatment. A quick wipe after dusty sessions beats a deep clean after months of neglect.
Firmware and software belong in the same routine. Check for updates for the monitor and its app, and note what changed before you play a tournament round or a league night. Store portable units in their case, out of the swing path and away from direct ball strikes, and keep them dry.
Projectors: dust is the enemy, and laser changed the job
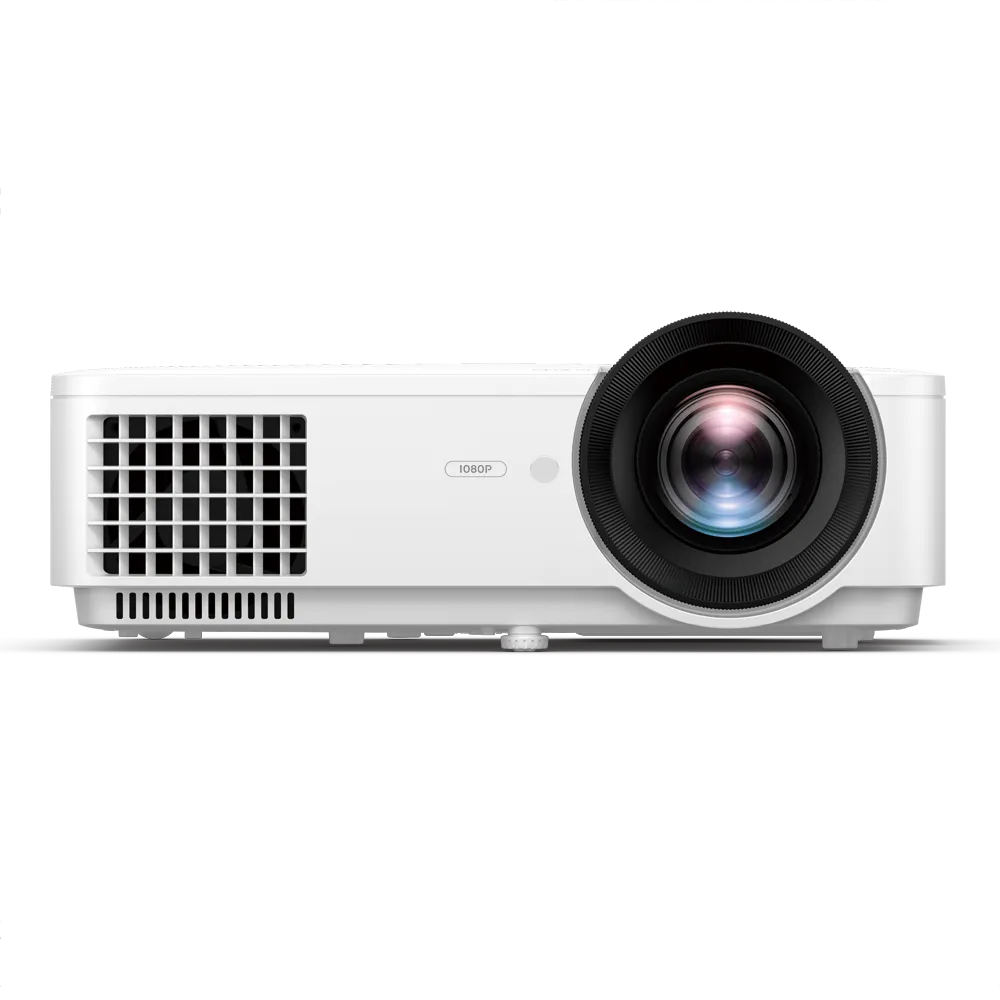
Projectors fail slowly, and dust is usually the reason. A clogged intake or a dusty lens dims the picture, pushes the fan louder, and can overheat the unit. Start by checking your model, because the job is different for lamp and laser units. BenQ's laser projectors use a sealed, dust resistant engine rated for 20,000 hours of light source life, with no filter to clean and no lamp to swap. That's a genuine maintenance win for dusty garages and basements.
Lamp projectors are the opposite. They have filters that need cleaning or replacing on the maker's schedule, and lamps that dim with age and eventually need replacing. If you own a lamp unit, find the filter in the manual, check it at your twice a year service, and keep a spare lamp in mind before the picture goes dim, not after. For any projector, power it off and let it cool before cleaning, blow dust from vents with air, and wipe the lens only with a proper lens cloth. Never poke at the inside of the unit, and never block its vents with storage boxes or curtains. A projector that can't breathe will tell you by getting loud, then dim, then dead.
Our golf simulator lighting guide covers the other half of projector care: light control. A clean projector in a bright room still looks washed out, so blackout coverings and lights kept off the screen matter as much as a clean lens.
The twice-a-year checklist, in order of cost saved
Do this in spring and in autumn, before the heavy indoor season starts. It takes under an hour for most rooms.
- Screen: inspect the wear zone with the projector on and off, check tension and edges, and note any thinning or fraying.
- Monitor: blow dust from lenses and vents, wipe gently only if needed, check firmware, and confirm the unit still sits level and aligned.
- Mat: brush the surface, clear grit from underneath, rotate the hitting spot, and press test for compression.
- Projector: clean vents and the lens, check the filter if your model has one, and confirm airflow around the unit is clear.
- Room: vacuum the bay, wipe clean balls, check cables for wear, and confirm nothing blocks the projector beam or the monitor's view.
Our take
Buy the replacement part before you need it, at least for the screen. Screens and mats are consumables, and a spare strip or a planned screen swap costs little next to a dead bay in January.
The monitor and projector reward the opposite habit. Leave them alone apart from gentle cleaning and updates, and resist opening anything you don't need to open. A simulator that gets an hour of care twice a year will outlast one that gets a panicked weekend of repairs. It'll play better the whole time, too.
Sources: Foresight Sports care guide, BenQ on laser projectors, Carl's Place DIY enclosure kit.
Shop the post